Does the sound of toenails clicking across your hardwood floor make you nuts? More importantly, is your best friend beginning to walk funny or dodging the sidewalk? For many pet parents in the US, UK and Canada, clipping a dog’s nails is the single most feared grooming chore. It’s not hard to see why: the fear of hurting them, as they squirm, combined with the mystery of where that “quick” is located can literally turn a simple task into a wrestling match.
But not taking care of those paws is more than just a cosmetic problem. Long nails can spread a dog’s toes, decrease grip and ultimately exert painful pressure on his joints and tendons, with the potential to cause long-term problems with mobility. The bright side is that it needn’t be a fight. Whether your furry friend is a palm-sized Chihuahua or a giant Husky, knowing how to master this skill is paramount for their health and yours.
In this ultimate guide, you’ll learn: the best vet-approved techniques in 2026 to make it easier than ever; simple tips to help you make nail-clipping as stress-free as possible; and exactly how to deal with those notorious black nails without losing your cool. From selecting the appropriate tools to a simple step-by-step guide, we are going to turn you into an at-home groomer who is calm and confident. Let’s turn those pedicure panic attacks into a bonding exercise.
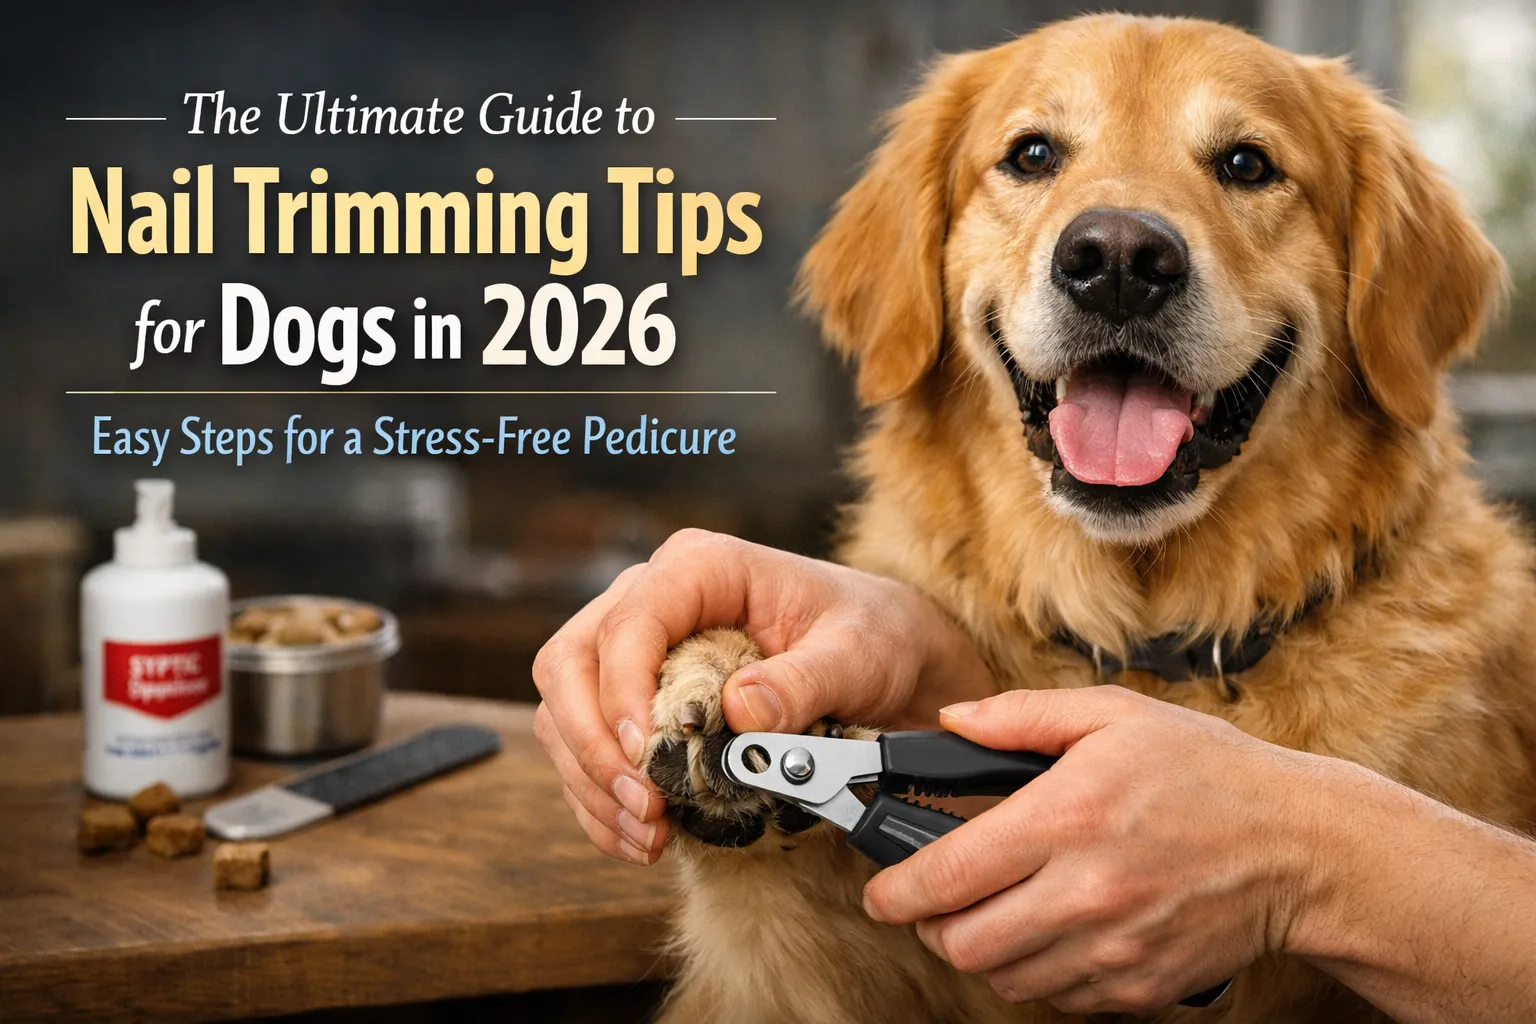
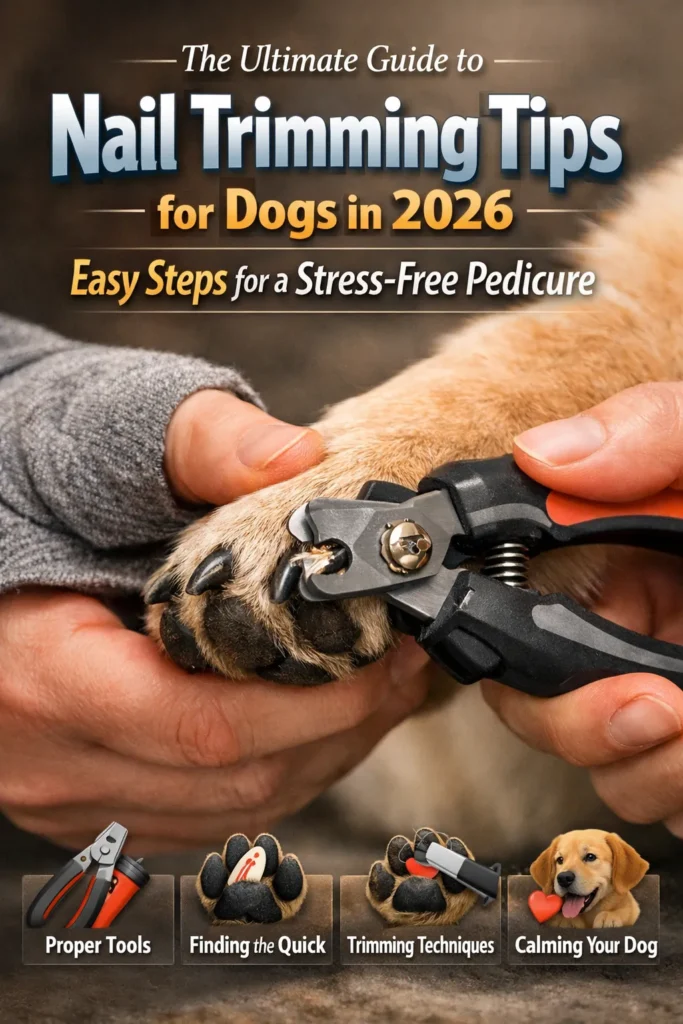
The Ultimate Guide to Nail Trimming Tips for Dogs in 2026: Easy Steps for a Stress-Free Pedicure
It’s a situation every dog owner is familiar with: You whip out the nail clippers, and suddenly your pup, who was previously passed out cold, disappears into thin air. Nail trimming well, is considered a necessary evil in the pet world. But with some knowledge and a little patience, you can transform this dreaded task into a fast, manageable — even positive — experience for you both. In this extensive 4,000+ word guide, we will cover everything you need to know about canine nail care in 2026 — from understanding the anatomy of the nail to learning the techniques employed by professionals.
Why Nail Trimming Matters More Than You Think
Nail trimming is not just for looks or to prevent the “click-clack” you hear on your kitchen floor. It is an essential part of your dog’s physical well-being. As a dog’s nails become overly long, they change how their paw lands on the ground. This causes the toes to awkwardly splay out, stretching the ligaments and tendons of the foot and leg. Over time, this can cause a splayed foot, reduced traction and even permanent joints damage that could lead to arthritis.
And long nails are susceptible to breaking, splitting or tearing, which is really painful and can result in nasty infections. The dewclaws — the nails higher up on the leg — can be particularly susceptible. Because they never touch the ground, they don’t get worn down in any way, and can easily grow long enough that they curl back into the dog’s skin to create embedded wounds. Routine grooming maintains these ailments at bay and keeps your fur friend in great walking type.
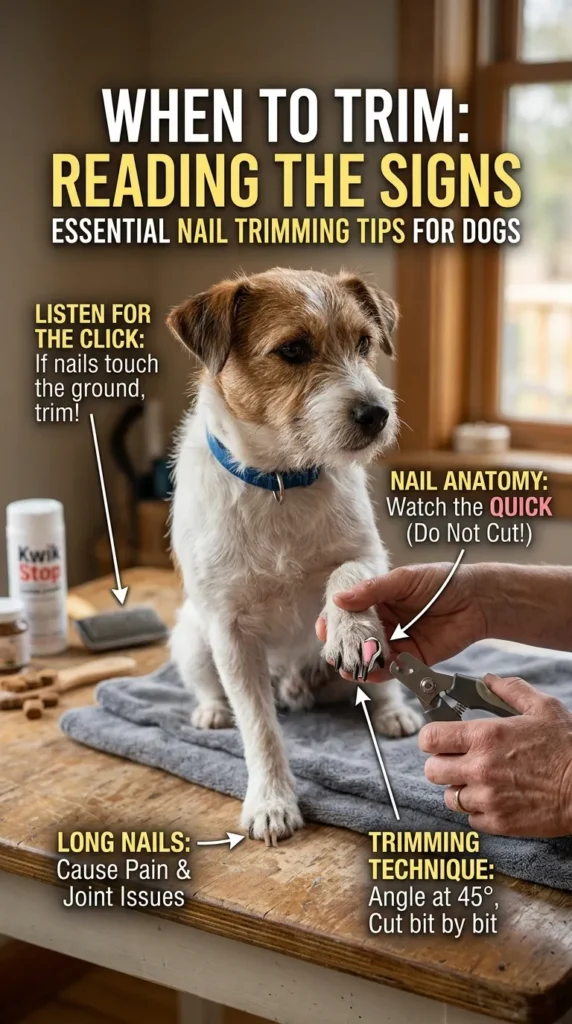
When to Trim: Reading the Signs
How often do you need to trim your dogs nails? The answer isn’t one-size-fits-all. It all really varies based on the way of living and activity level of your dog. A dog who primarily walks on grass or carpet will need trims much more often than a dog who runs daily on concrete pavement, which naturally files the nails down. For indoor dogs, you can say in every 3 to 4 weeks but for a very active dog, it could be as much as every 6 to 8 weeks.
Here are the tell-tale signs it’s time for a trim:
- The Floor Test:If you can hear your dog’s nails click-clacking on hard floors as they walk around, those nails are far too long. It is the ideal, that whilst your pet is breathing on all 4 feet, their thickness should be so small that they do not scuff the soil.
- Visual Inspection: Gently extend your dog’s toes by pressing on the pad. If the nail tip extends beyond the pad of the foot, it needs to be cut .
- The “Dewclaw Check”: Run your finger under the dewclaw. If the nail catches on your finger, it’s time for a trim .
Understanding the “Quick”: The Key to Success
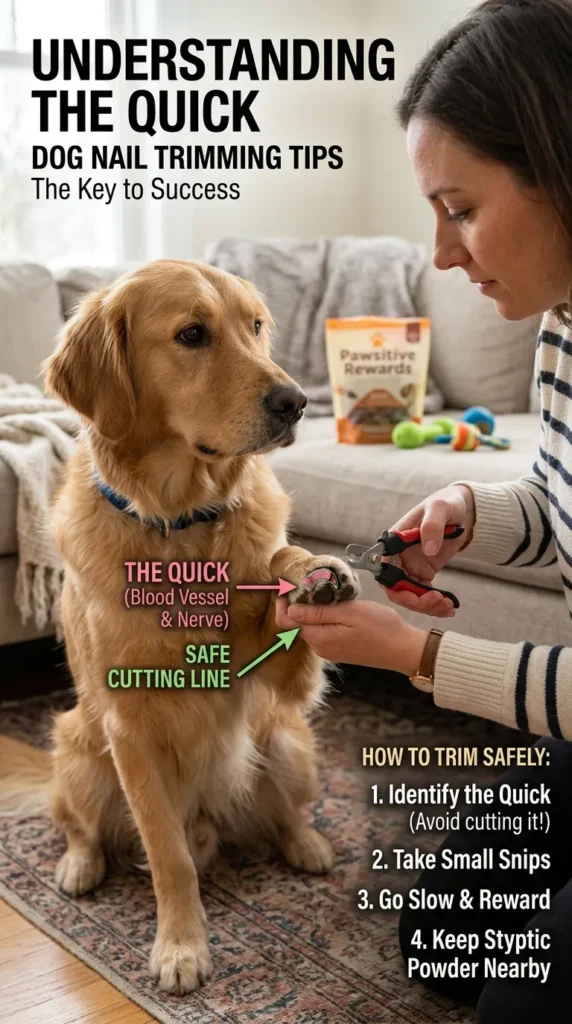
Before you even touch a clipper, you have to know the “quick.” This is the living, rosy bundle of nerves and blood vessels beneath the nail. The pain and bleeding is caused by cutting into the quick. That is why most owners are anxious.
- On Light Nails: The quick is easy to spot—it looks like a pinkish triangle inside the clear or white nail. You should cut about 2mm beyond the tip of the quick .
- On Dark Nails: And here is where it gets tricky, because the quick is invisible. The secret: snip tiny slivers from the tip of the nail. Evaluate the freshly cut surface of the nail after each snip. Round to the quick, you will see a small dark oval/dot appear in the centre of the nail. Once you notice this grey or pinkish circle, stop cutting—you are in the safe zone and almost at the start of the fast.
Essential Tools for the Job
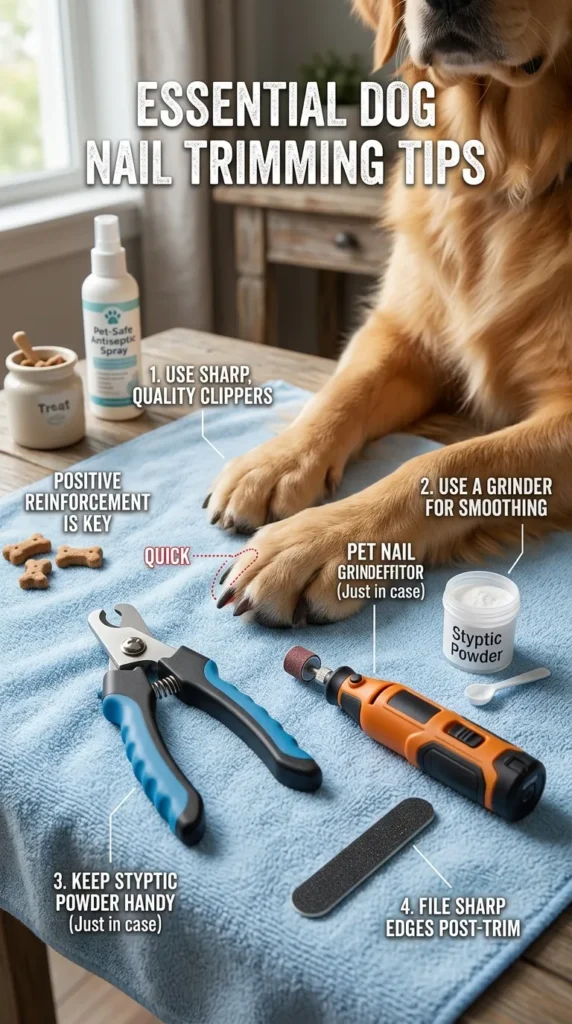
Having the right equipment makes all the difference. Here is your 2026 toolkit for a perfect pedicure:
- Nail Clippers: There are two main types.
- Scissor/Plier-style: These look like small pruning shears. They are excellent for larger, thicker nails and offer good leverage and control .
- Guillotine-style: You insert the nail through a hole and a blade slices down as you squeeze the handles. These are often preferred for smaller to medium-sized dogs for precision .
- Nail Grinder (Dremel): A power tool that sands the nail instead of cutting it. This is excellent for smoothing rough edges, and really amazing with longer quicked dogs that you can buff without fear over a week of laying down less returning nail and pulling back the quick. The sound or vibration, however, can be frightening for some dogs, so desensitization is crucial.
- Styptic Powder: This is non-negotiable. It’s also a clotting agent and will stop bleeding immediately if you accidentally cut the quick. If you don’t have this, cornstarch or flour can help in a pinch but are not as reliable; we recommend a dedicated styptic powder (such as Kwik Stop) if possible.
- High-Value Treats: Think of these as your secret weapon. You need treats that your dog goes crazy for—cheese, chicken, or peanut butter—to create positive associations.
Step-by-Step: How to Trim Your Dog’s Nails
Now that you have your tools and knowledge, let’s get to the actual process. Remember, calmness is contagious. If you are nervous, your dog will be too.
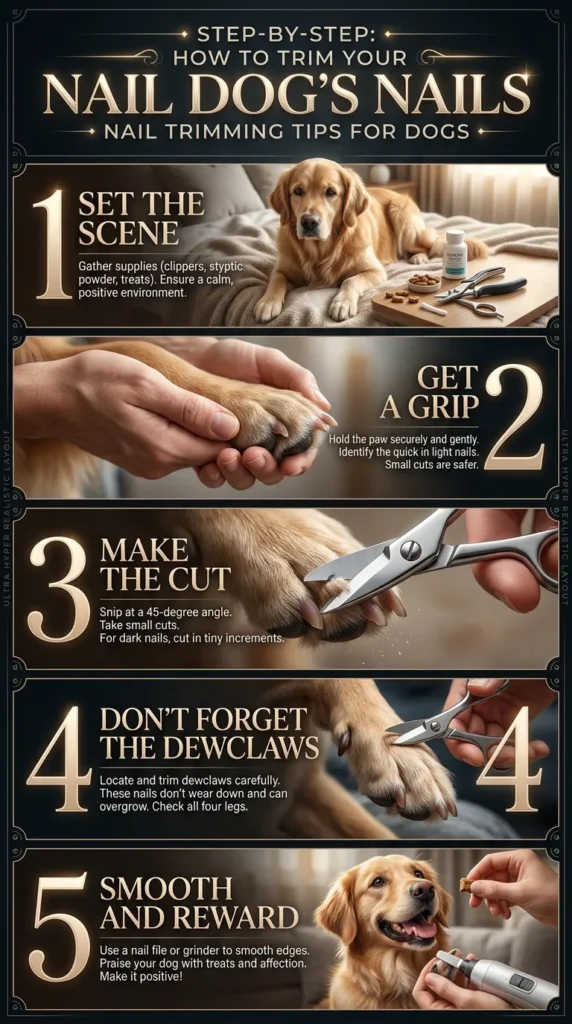
Step 1: Set the Scene
If possible, make sure you do this in a quiet room with good lighting. Using a non-slip surface, such as yoga mat or carpet, will help your dog to feel safe. You might have small dogs even on your lap. For larger dogs, it’s best to have them standing or lying on their side on the floor.
Step 2: Get a Grip
Pick up one paw. Lightly yet firmly rest your thumb on the pad of the toe, and your forefinger on top of the toe. Gently press your thumb up and back to push the nail out. This enables you to have a clear view and keeps the nail you are working on isolated.
Step 3: Make the Cut
- For light nails: Identify the quick and clip the tip of the nail at a 45-degree angle, about 2mm away from the quick .
- For dark nails: Take tiny slivers off the end. Clip a small piece, release the pressure, and inspect the cut edge. Look for that dark circle to appear. Stop immediately when you see it.
Step 4: Don’t Forget the Dewclaws
These are often missed. Locate and trim the nails on the underside of the paws (usually only the front, sometimes also at the rear) They generally need more frequent attention because they never touch the ground.
Step 5: Smooth and Reward
After trimming, you should file or grind to smooth off sharp rough edges. This keeps them from getting caught in the rug or scraping your leg. Lastly, have a party for your dog! Lavish them with praise and offer them a handful of treats. That is how to create a positive association for next time.
Training: Conditioning Your Dog for Calm Trims
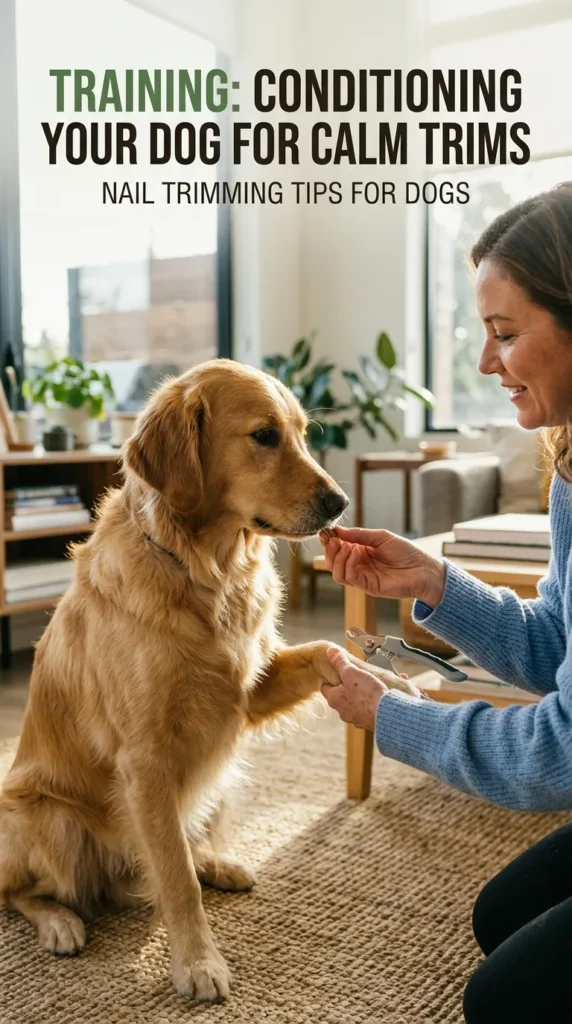
If your dog runs and hides at the sight of the clippers, you have work to do. You need to help them change their emotional reaction from fear to happiness — a technique called desensitization and counter-conditioning.
Here’s a simple 7-day plan you can adapt:
- Day 1-2: Just show your dog the clippers. Click them nearby (without cutting) and immediately give a high-value treat. The goal is to make the sound of the clippers predict good things.
- Day 3-4: Touch the clippers to one paw. Don’t cut. Just touch. Then treat.
- Day 5-7: Try trimming just one nail. Yes, just one. Treat and praise like they just won a Nobel Prize. Stop. Do another single nail the next day.
Pro-Tip: For very nervous dogs, there is the “Licky Mat” method. Depress peanut butter or soft cheese onto a silicone mat, or a wooden spoon. Have it licked while you work by your dog. This way they are busy and it combines with a tasty experience the trimming.
Emergency Guide: What If You Cut the Quick?
It happens to the best of us, even experienced groomers. If you hit the quick, don’t panic. Your dog will likely yelp and pull away, and there will be blood.
- Stay Calm: Your reaction influences your dog’s reaction. If you freak out, they will think they are dying.
- Apply Pressure: Get the styptic powder and put on a little bit at the bleeding tip. You can take a damp paper towel or cotton ball and push it in. Apply gentle pressure for 30 to 60 seconds. Bleeding should stop in a couple of minutes.
- Comfort and Stop: 367 Soothe your dog with a calm voice. In general, this is where the session should end. To another painful cringing experience right after a challenging one will seal a negative association.
Grinder vs. Clippers: Which is Best?
The debate continues, but the best tool is the one that works for you and your dog.
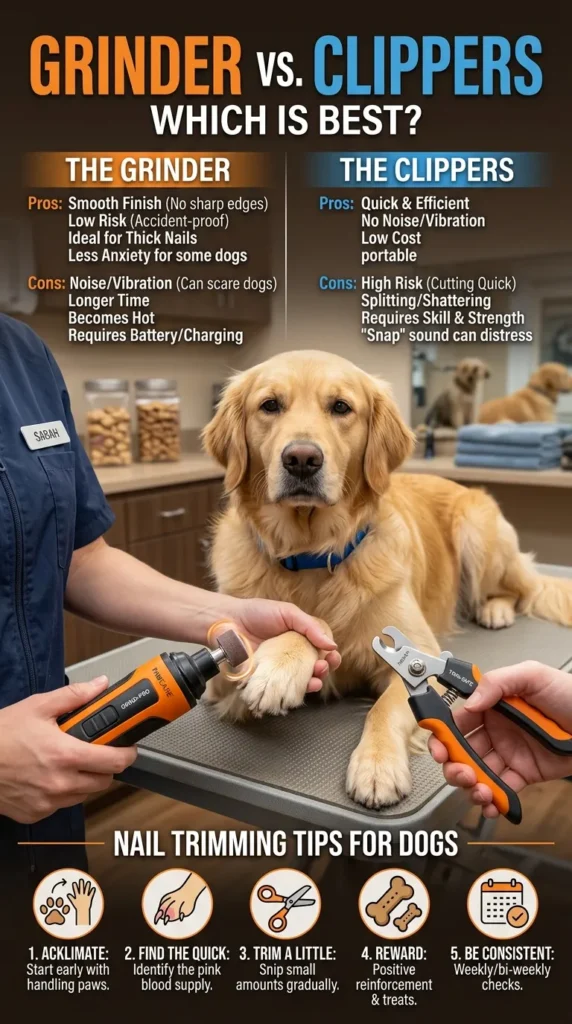
- Clippers: They are fast and quiet. The downside is the risk of cutting the quick if you miscalculate .
- Grinders: They offer precision control. You can gradually file down a nail, great for black nails. They also give a smooth, rounded finish. The downside is the noise and vibration, which may frighten some dogs, and it takes a little longer.
Owners now often adopt a hybrid approach: they take to the bulk of the nail with clippers to shorten it, then they use a grinder on what’s left to smooth the edges and get just that bit closer to the quick without any risk of a cut.
When to Call the Professionals
Despite your best efforts, there are times when professional help is the safest option. You should seek out a vet or a professional groomer if:
- Your dog is extremely aggressive or anxious, and training isn’t working.
- The nails are severely overgrown and have started to curl .
- You hit the quick and it won’t stop bleeding or seems infected.
- You simply don’t feel confident, and the stress is harming your bond with your dog. Professional nail trims are affordable, usually ranging from $10 to $25, and are a small price to pay for peace of mind .
Conclusion
Getting your cat used to having their toenails trimmed is a lesson in patience and positive reinforcement. You can alleviate the stress and fear around pedicure time by understanding anatomy, using proper tools and taking it at your dog’s pace. Not only will be you saving money on groomers, but also helping your dog long-term with their joint health in comfort. So, fire up those clippers, reach for the treats and get moving on happier, healthier paws today.
FAQ
1. How often should I really trim my dog’s nails?
It varies, but a good rule of thumb is every 3-4 weeks for most indoor dogs. If you hear clicking on the floor, it’s time. Active dogs that walk on pavement may need it less often .
2. My dog hates having his paws touched. Where do I start?
Focus on exercises, not clipping. When watching TV, approach him gently and touch his paws with your fingers and give a treat immediately. Repeat this every day until he settles. After that, you can start to desensitize the little one for clippers as explained above.
3. How do I cut black dog nails if I can’t see the quick?
Trim in very tiny increments. Examine the freshly cut surface of the nail. Once you reach and see a dark greyish or pinkish oval bubble in the centre, you have reached the start of the eye so is the quick is that must not be cut.
4. What is the best tool for a beginner?
Scissor-style plier clippers are often easier for beginners to manipulate than guillotine types. But a nail grinder is still an excellent beginner tool since it slowly files down the nail and minimizes the risk of hitting the quick.
5. Is it better to cut or grind dog nails?
Both are effective. Clippers are swift and silent, but more likely to nick the quick. Grinders are slower and noisier, but allow greater precision and smoother work. Many owners use both.
6. What should I do if my dog’s nail breaks?
For a small break, you can file it level. If there’s a broken nail and the quick is exposed (bleeding), put on styptic powder and call your vet. Broken nail causes a lot of pain and can lead to an infection easily.
7. Do all dogs need their nails trimmed?
Not all. Dogs that walk on tough, hard surfaces like concrete and asphalt tend to wear down their nails naturally and may need a trim only infrequently. However, you should still examine their dewclaws regularly, as these never hit the ground.
8. How short is too short?
You will trim to just above the paw pad level when standing. If you trim to the level where no longer touches on ground then this is perfect length.
9. Can I use human nail clippers on my dog?
It’s not recommended. Human nail clippers are made for the thin, flat human shape of a fingernail. The nails of a dog are thick, round, and hard. Human clippers will crush the nail making it painful and splitting.
10. What is a dew claw and why is it special?
Dew claw: The “thumb” claw farther up the inside of the leg (typically front). It doesn’t hit the ground, like it doesn’t wear out. It has to be cut manually in order not to grow into the skin.
11. How do I stop the bleeding if I cut the quick?
Use styptic powder. Put a small amount on the bleeding tip and press with a clean cloth or cotton ball for about 30 seconds. Without powder, you can use cornstarch or flour as a stopgap.
12. My dog is too big and strong to hold still. What can I do?
You don’t have to go through it alone. Recruit a partner to hold and dispense treats. For giant breeds, teach to lie down on their side. It leaves them feeling less exposed and a far easier position to maintain than standing. If it remains impossible, a professional groomer or your vet is the safest bet.
Final Verdict
Cutting your dog’s nails is, without a doubt, one of the most difficult parts of being a pet parent — but it is also one of the most important aspects of your pup’s physical health. It requires a combination of technical expertise and emotional intelligence. One more thing about 2026: Instead of thinking of the goal as “getting the chore behind you,” think of it as “building a cooperative care routine.”
With a little time spent desensitizing your dog, using the appropriate nails clippers for your particular breed, and understanding how to cut each nail without fear or anxiety you can let the both of you move on. Sure, you may still let a little blood out from time to time, but with styptic powder and a steady hand, even those errors are easily-fixable lessons. Ultimately, it is a skill that further builds your mutual trust with your dog, so they can walk comfortably beside you for years to come. So breathe, reach for the treats and make your pet look their best with a well-deserved pedicure.


Leave a Reply